Start with sections and the direction of the ends
Where should you start when shaping the ends of layered hair inward? One approach is to divide the hair into sections and work from the lower sections while checking the direction of the ends. This is an example of a blow-dry for inward C-shaped curls that uses a round brush to shape the ends before moving to the upper sections and face-framing hair. It does not guarantee the same shape for any particular hair length or type. 1
First, consider overall volume and the direction of the ends separately. In the lower sections, look at where the ends point; in the upper sections, look at the movement used to lift the hair. The finish can vary with length, layers, and current hair condition, so identify the elements you need rather than trying to reproduce the finished shape exactly. 1
Clip up the upper hair and start with the lower sections
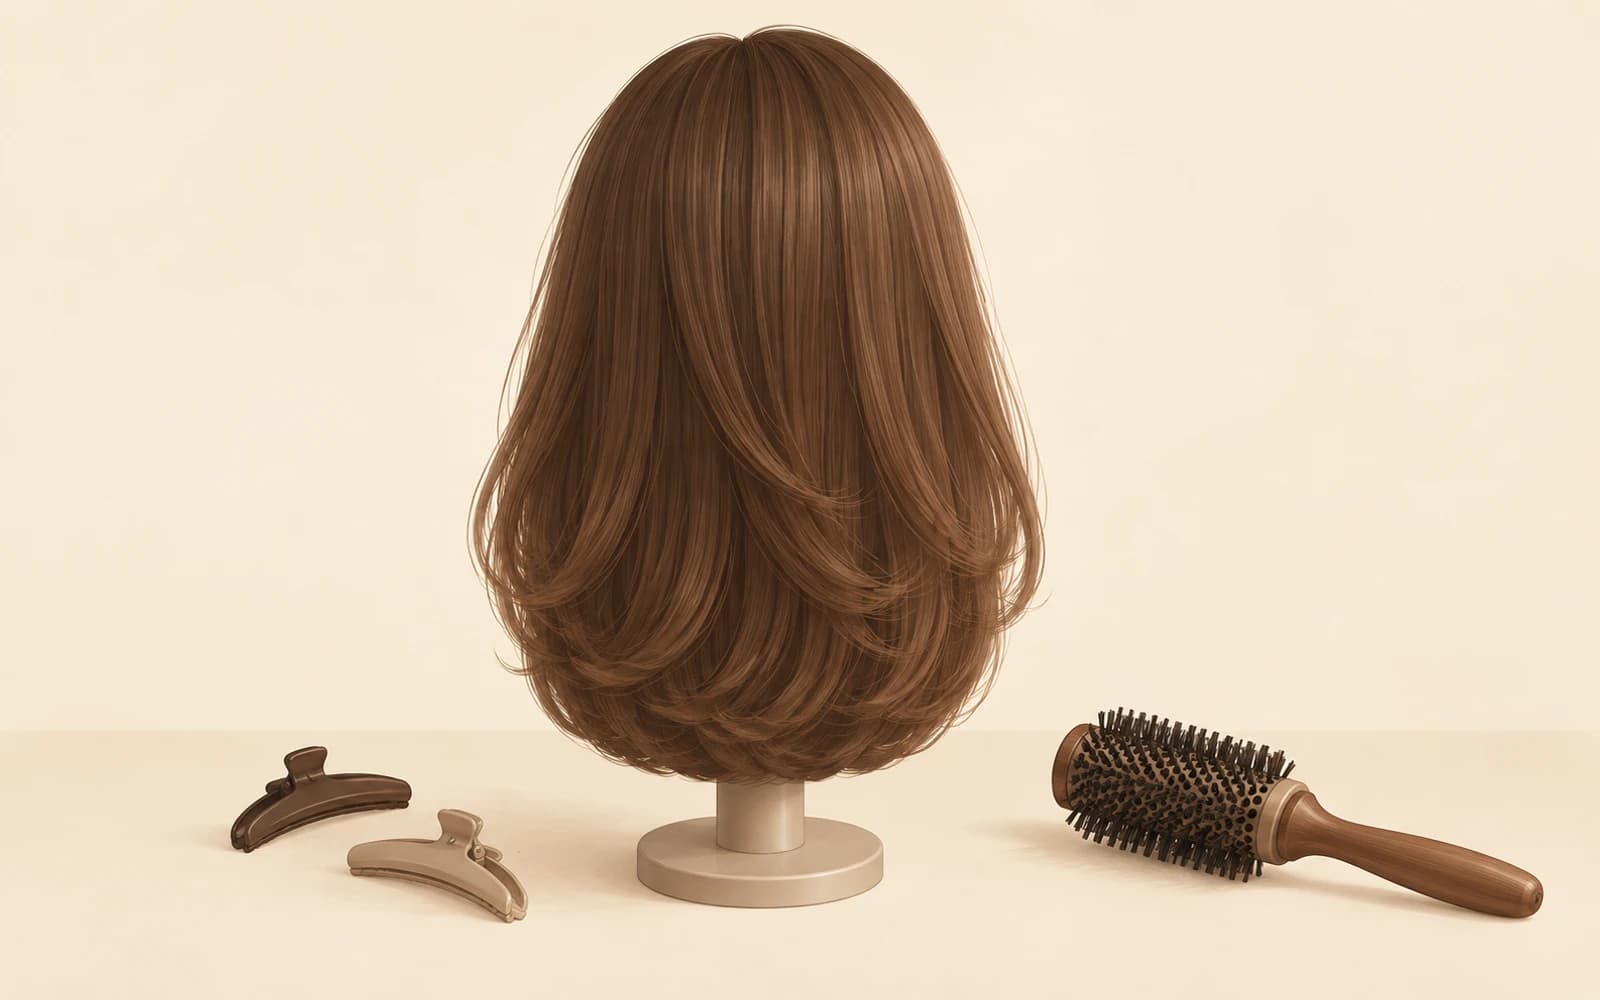
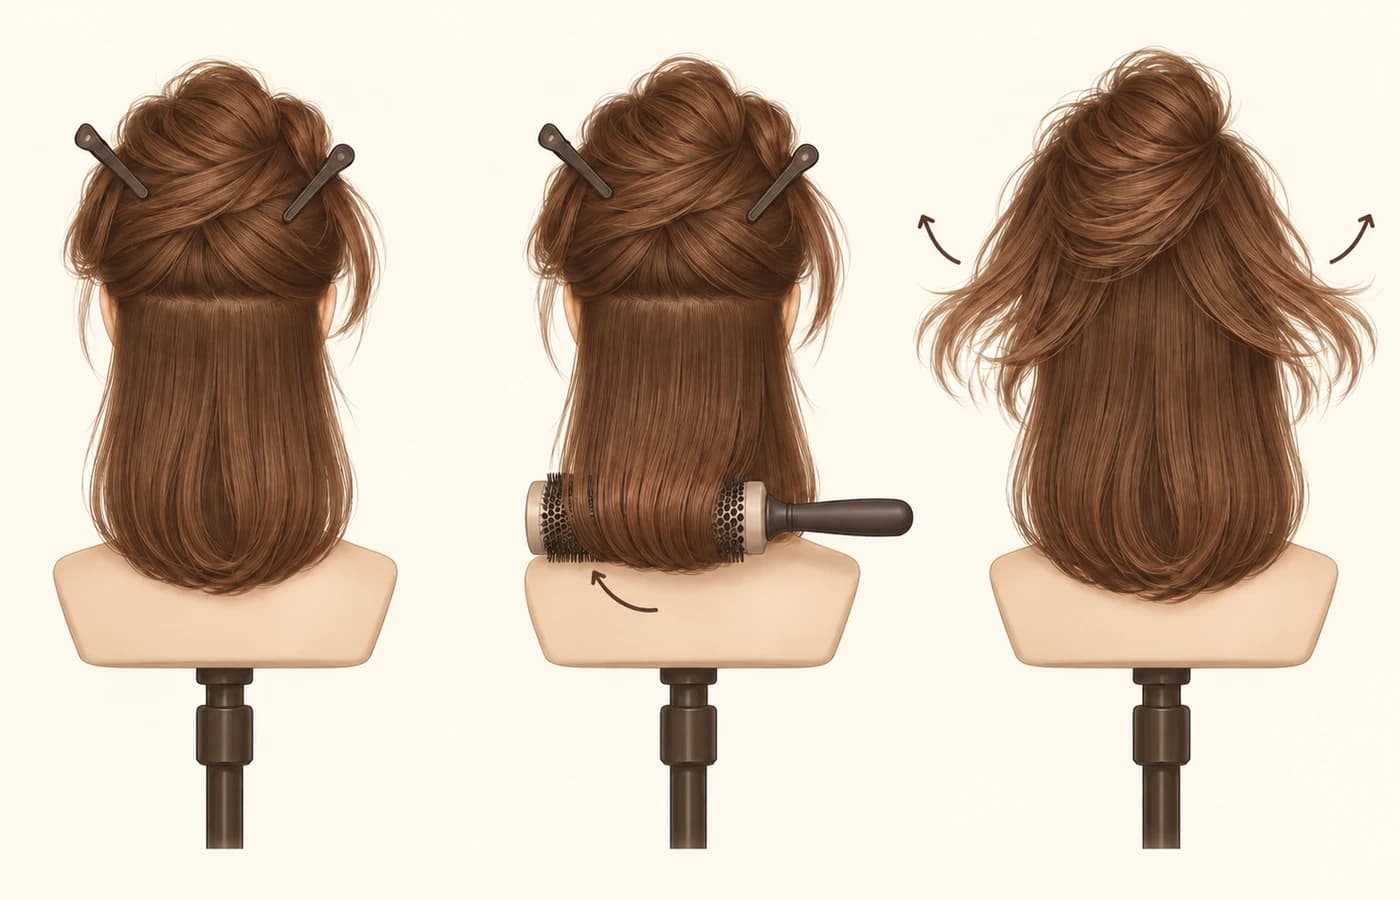
Secure the upper hair with hair clips and work on the lower sections first. Shape the ends of the loose hair inward with a round brush, then release the next section and continue in the same way. Consider both the sectioning sequence and the direction of the ends. This is the working sequence shown in the demonstration, rather than a standard for section sizes that suits everyone. 1
Even when following the round-brush movements, do not try to create the shape by pulling hard on the hair. The American Academy of Dermatology advises reducing rough handling and pulling. Distinguish shaping the ends from forceful pulling, and handle the hair gently while using tools. 2
Work upward and repeat on the other side
After finishing the lower sections, release the upper sections and continue. The example shows lifting the hair as you move upward, working it with a round brush, and following the same sequence on the other side. It does not establish a single correct lifting angle or height. Focus on the progression from bottom to top and the sequence for working on each side. 1
Looking separately at shaping the ends in the lower sections and lifting the upper sections can help you identify which movements to use as a reference. However, a demonstration on one person cannot establish that the same results will follow with different lengths and layers. During a consultation, explain whether you want to focus on volume or the direction of the ends and confirm how to approach it. 1
Finish the roots and face-framing hair separately
After working through the sections, consider the roots and face-framing hair separately. The finishing sequence uses a flat iron at the roots and leaves the face-framing hair until last. This is one example of finishing, and does not mean that applying heat at the roots is a required step. First, decide whether that finish is relevant to your needs. 1
If you choose to use a flat iron, check that the hair is dry and follow the general guidance to use low or medium heat. Seeing a movement in a demonstration is not a reason to keep the tool in contact with the hair for longer or increase the heat. Prioritize checking that the hair is dry before applying heat. 3
Check the basics before adding heat
After washing, use a towel to absorb moisture rather than rubbing the hair roughly. Allow some air-drying before styling, use heat tools on low heat, and aim to reduce their contact with the hair. These are general hair-care principles, rather than evidence that guarantees the shape or lasting time of inward C-shaped curls. 2 3
When to comb depends on hair type. For straight hair, the guidance is to let it dry a little before gently using a wide-tooth comb; for tightly curled or textured hair, it is to use a wide-tooth comb while the hair is damp. Do not generalize this advice to all curly hair or simplify it into a rule that all hair must be completely dry before combing. Keep the timing of combing separate from the requirement for dry hair before flat-iron use. 2 3
Choose a finish that suits your hair
Once you understand the sectioning sequence, consider which elements to use for your length, layers, and hair condition. You do not need to follow every step exactly, from shaping the lower ends and lifting the upper sections to finishing the roots and face-framing hair. Instead of setting the shape from one demonstration as a fixed goal, discuss the relevant sections and tools in a consultation before choosing your final approach. 1
During a consultation, you can describe your current length and layers, the tools you usually use, and the direction you want the ends to take. Use the sectioning sequence as a reference while also checking the differences in combing guidance by hair type and the conditions for using heat tools. This guide is intended to help choose an approach that accounts for individual differences; it does not promise a particular result or lasting time. 1 2 3
References
- Official inward C-shaped curl blow-dry demonstration by JUNO HAIR POSCO Intersection Branch — Used as an example of sectioning, round-brush use, and the sequence for finishing the roots and face-framing hair.
- How to stop damaging your hair — Used for guidance on absorbing moisture, reducing heat and pulling, and when to comb different hair types.
- Hair styling without damage — Used for guidance on partial air-drying, dry hair before flat-iron use, and heat settings.