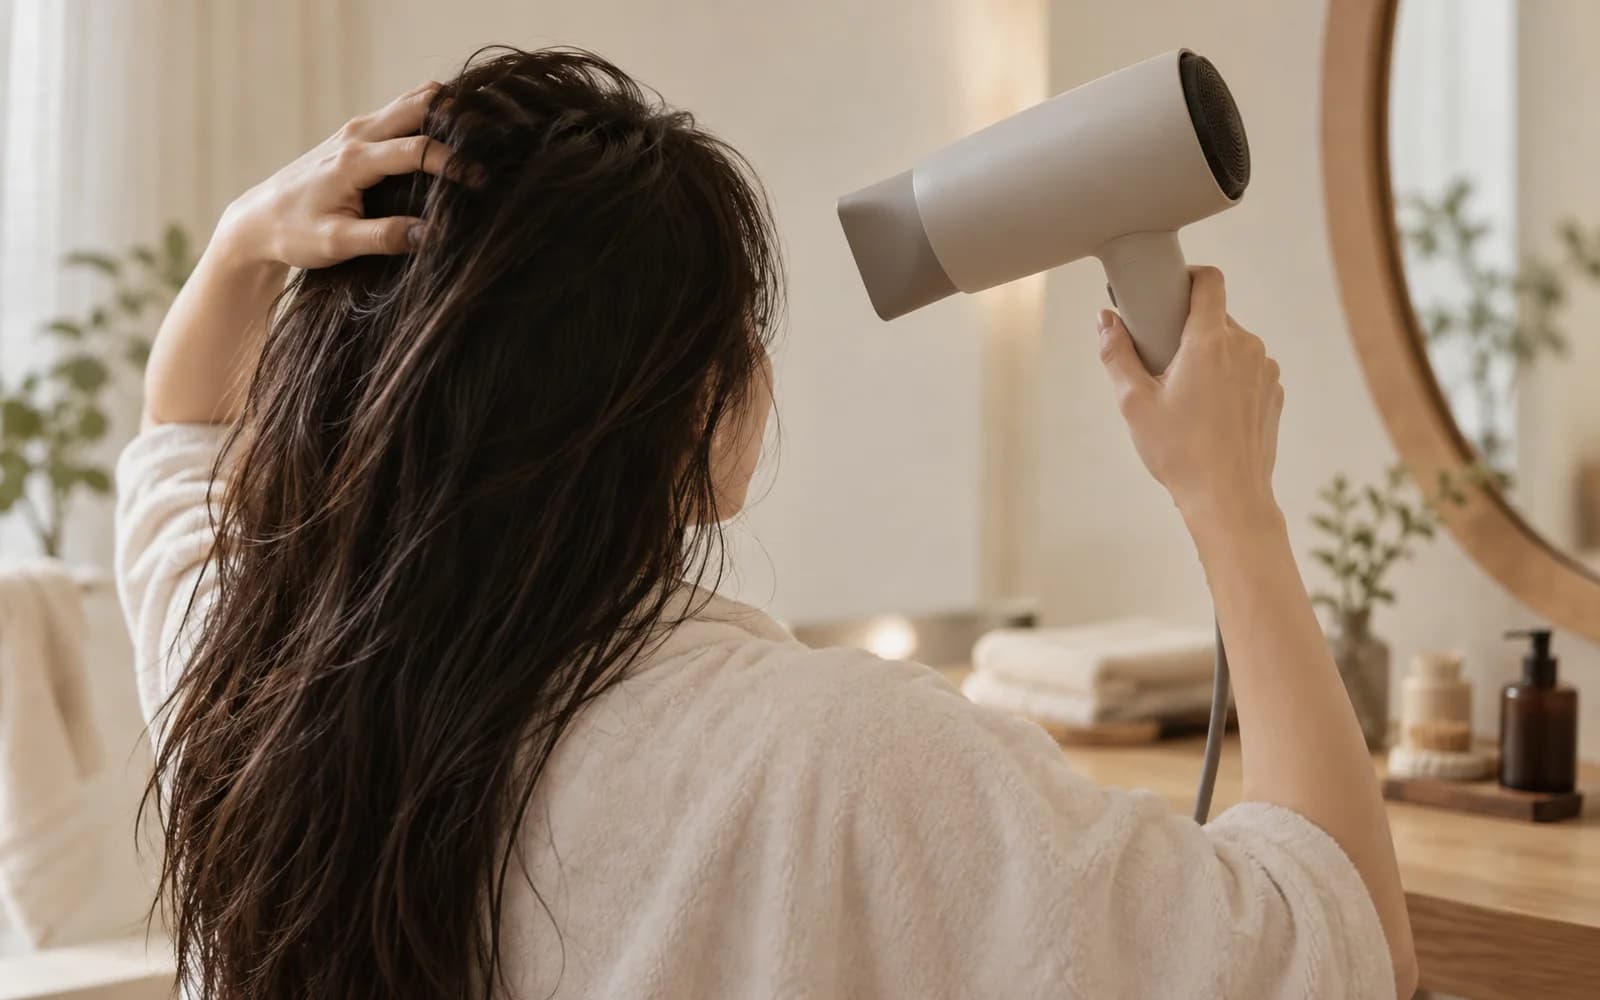
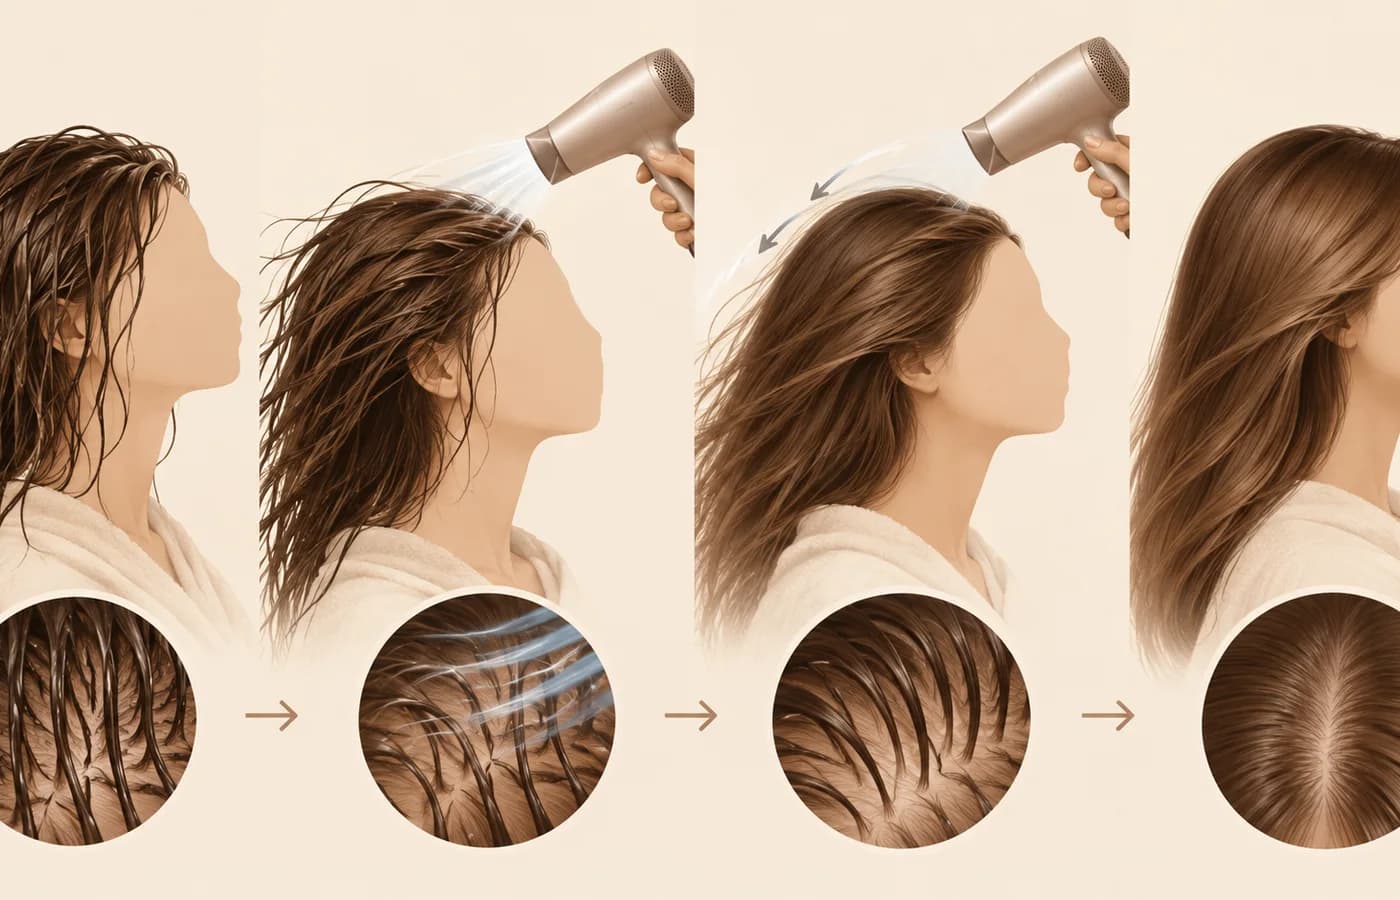
The few minutes after shampoo shape the final feel of a style. A good starting point is not the fastest blast of air, but a comfortable order: lift away water gently, keep heat moving near the scalp, and finish in the direction the hair naturally wants to go.## Start by lifting away waterWet hair stretches and tangles more easily than dry hair. Wrap it in a towel and press rather than rub. When you need a comb, use a wide-tooth comb from the ends upward, following the [AAD guidance][2]. Shampoo belongs mainly at the scalp; conditioner belongs where the lengths and ends need slip.When the hair no longer drips, bring in the dryer. The goal is not to leave wet hair unattended for a long time, nor to pull through every knot while it is fragile. Divide the hair into calm, manageable sections before adding heat.## Low heat, moving air, a little distanceHolding the dryer still can feel efficient, but it keeps heat in one place. Choose low or medium heat, keep the airflow moving and leave room between the tool and the scalp. Dry the roots first, then open the lengths out so the ends are not asked to absorb all the heat at once.A hair-drying study[3] found more cuticle lifting and cracking at higher temperatures, while CMC damage appeared only in the naturally dried group. The experiment is not a home timetable. It is a reminder to avoid overheating one spot, concentrating heat too closely or leaving the hair wet for too long.## Finding the middle groundAir-drying is not always the answer, and a dryer is not automatically harmful. The study observed a change in the cell-membrane complex (CMC) in naturally drying hair, while higher temperatures produced clearer cuticle lifting and cracking.[3] These are distinct observations, not one generic “surface change.” The useful choice is the one that responds to the hair you have today.Coloured or permed hair, fine hair that loses shape quickly and curly hair each ask for a different finish. Use a heat protectant only as the label directs and treat it as help for feel and manageability, not a promise to rebuild the hair from within.## A quiet routine after shampoo1. Press out water with a towel or T-shirt.2. Detangle from the ends with a wide-tooth comb; never force a knot.[2]3. Move low or medium heat around the scalp, keeping the airflow in motion.4. Open the lengths into broad sections, then finish with the direction and shape you want.If the scalp stays itchy, sore or red, stop and ask a professional rather than turning the heat up or adding another product. This column does not diagnose a scalp condition; a salon consultation can adjust the drying order to your current hair and the silhouette you want.## Four things to remember- Remove water gently and start at the ends when detangling.[2]- Think of low or medium heat, moving air and distance as one setting.- Do not make air-drying or heat-drying a universal rule; respond to today’s hair.[3]- Read a product within its label and ask a professional about symptoms that persist.References1. JUNO HAIR POSCO Intersection Shorts — the original drying-routine video.2. American Academy of Dermatology, “Tips for healthy hair” — wet-hair and heat guidance.3. Hair drying and surface damage study, Annals of Dermatology 2011 — a hair-tress comparison of heat, distance and drying conditions.[1]: https://www.youtube.com/shorts/3ufevAHCG0c#video-3ufevahcgo[2]: https://www.aad.org/public/everyday-care/hair-scalp-care/hair/healthy-hair-tips#aad-healthy-hair[3]: https://pmc.ncbi.nlm.nih.gov/articles/PMC3229938/#hair-tress-study